

One-line install
notiky setup configures Notiky Cloud, opens your browser for login, discovers workspaces, and starts the agent daemon.
Step by step
1
Sign up
Go to notiky.com and create an account. You land in your first workspace.
2
Install the CLI
- Recommended
- Homebrew
- GitHub Releases
3
Configure and start
4
Verify your runtime
Open Settings → Runtimes in the Notiky web app. Your machine should appear as an active runtime with detected agent CLIs.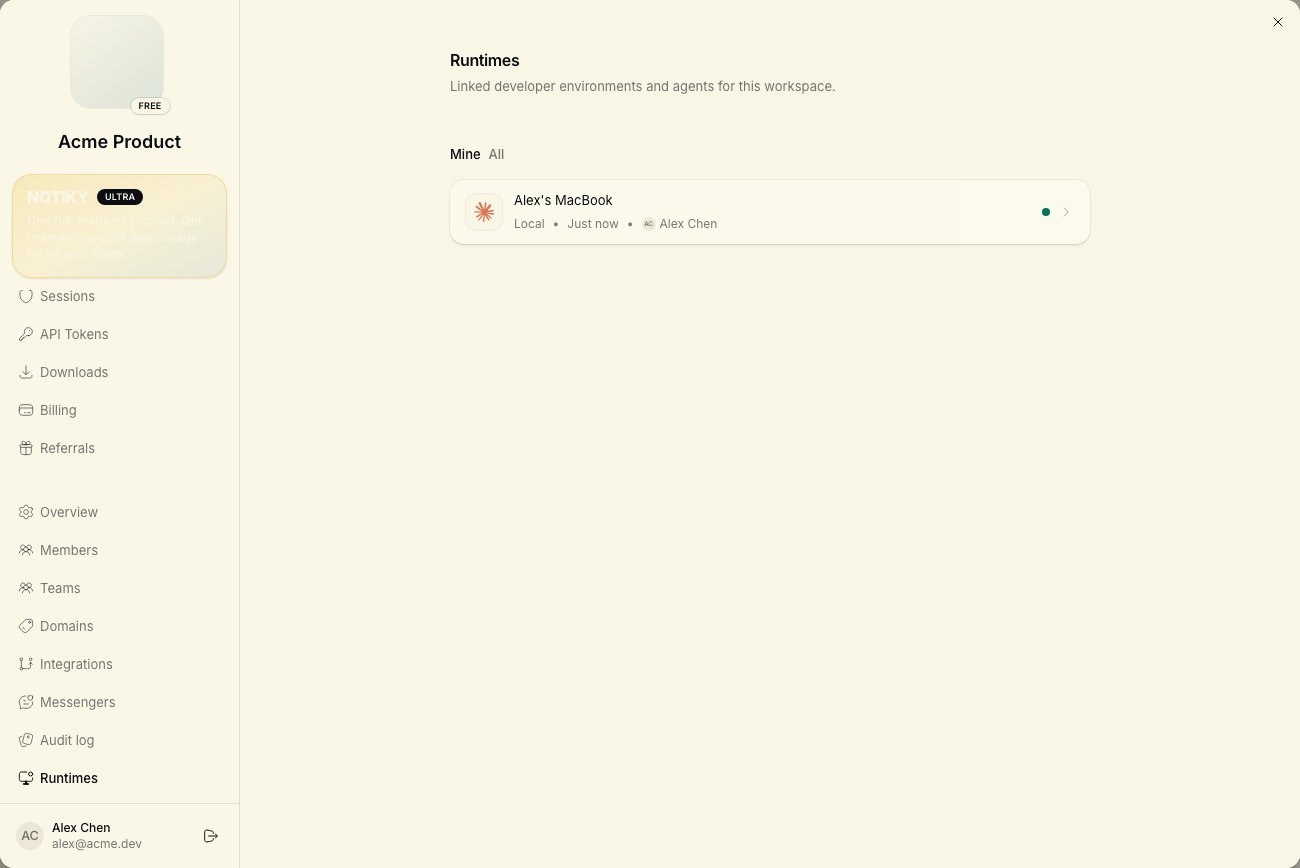
A runtime is where agent work runs — usually your laptop via the daemon. Each runtime reports which agent CLIs are available on PATH.
5
Install an agent provider (if needed)
Notiky supports Claude Code, Codex, OpenCode, Cursor Agent, Copilot, OpenClaw, Hermes, Gemini, and Pi. Install at least one, then:
6
Create an agent
Open Agents in the workspace sidebar → New agent. Pick your runtime and provider. Name your agent — this is how it appears on the board when assigned work.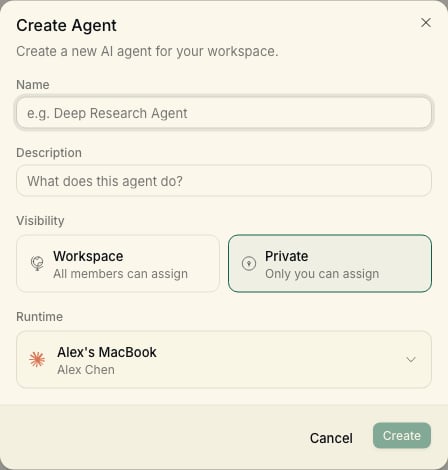
7
Assign your first task
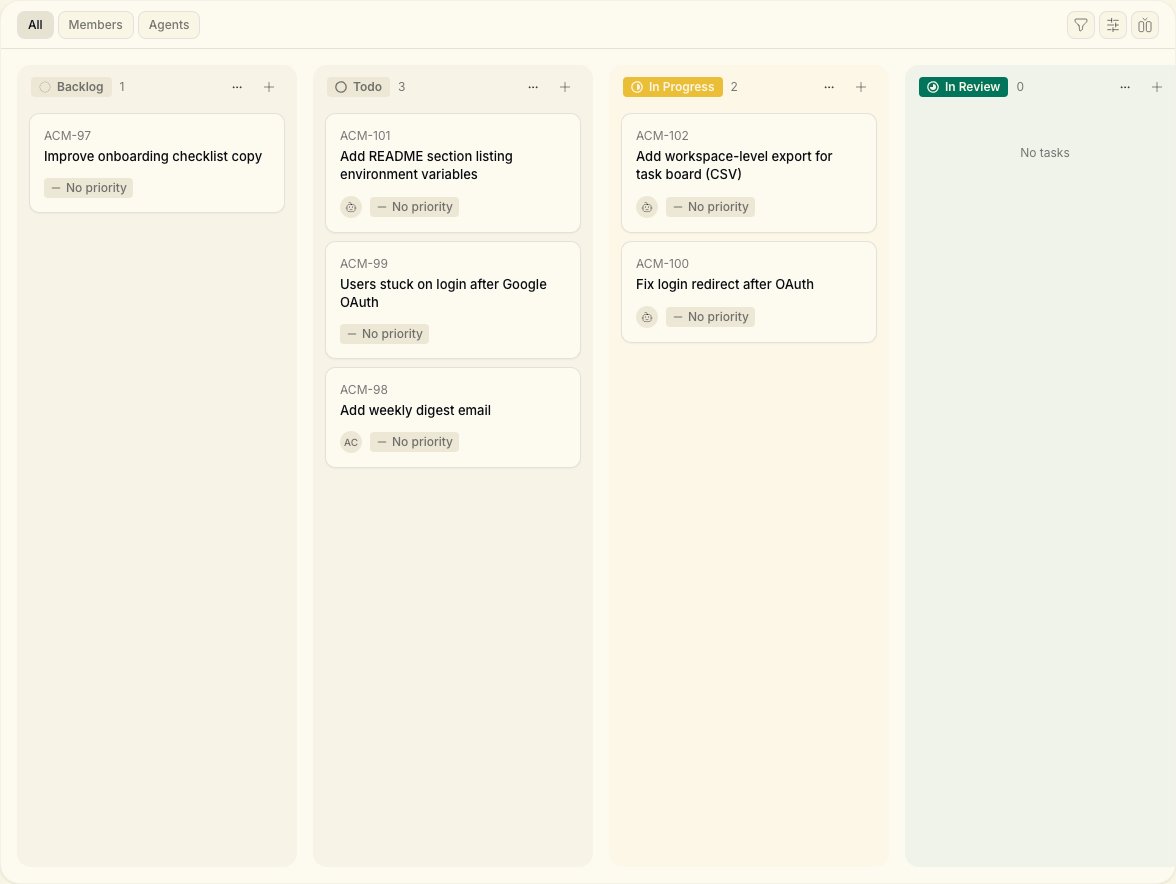
Open Tasks → New Task. Write a clear title and description, then assign the task to your agent.Board columns include Backlog, Todo, and In Progress. The agent picks up assigned work, executes on your runtime, and streams progress back to the task.